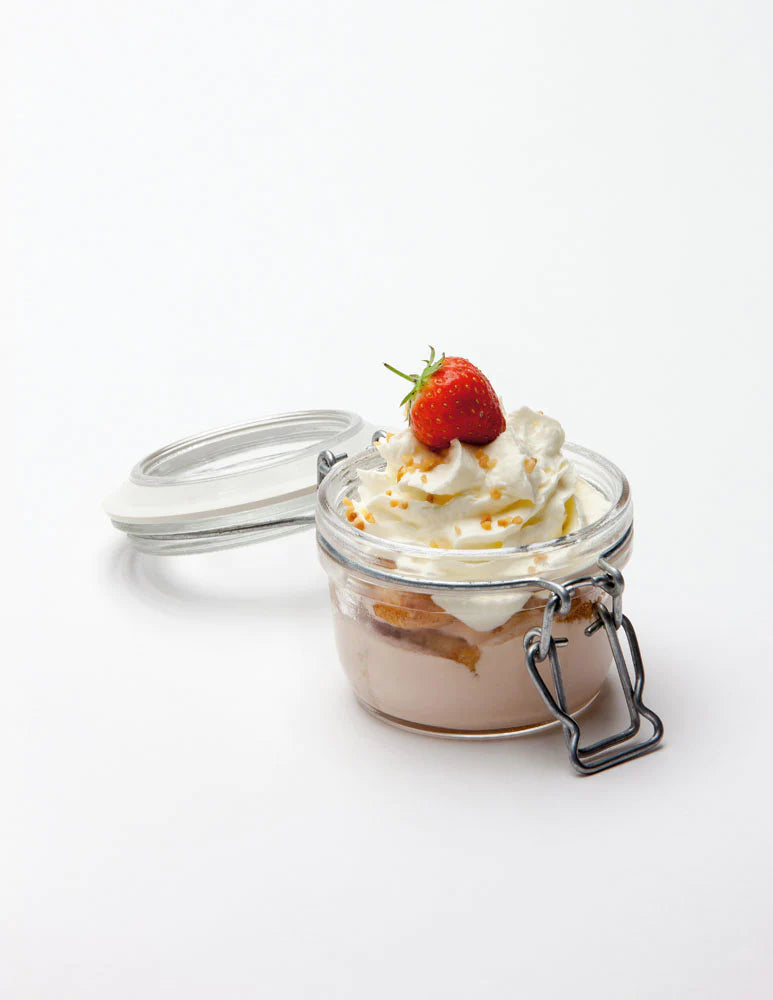
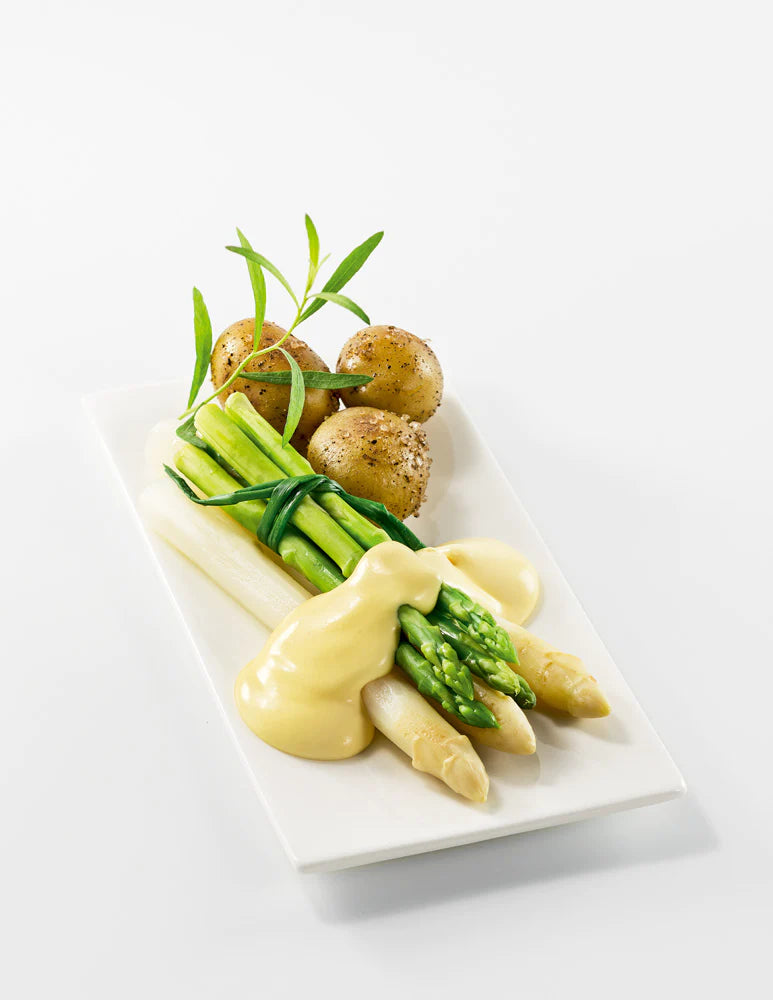
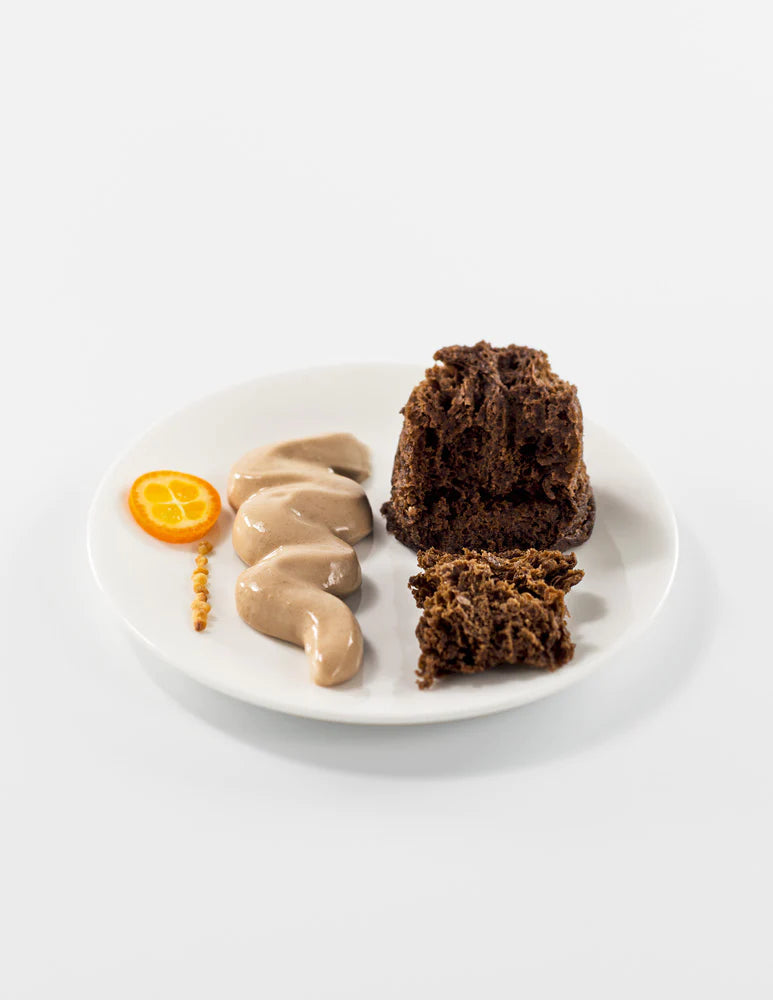
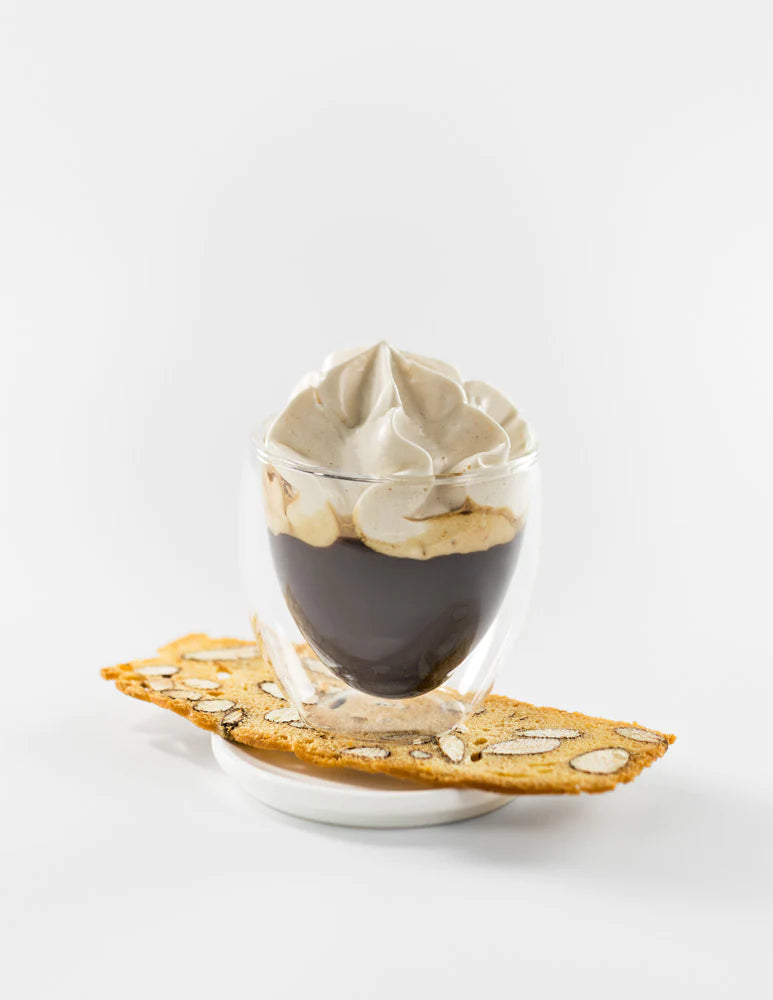
Whether you are a professional chef or you are cooking as a hobby, the kitchen is a great place to let your imagination run wild. Imagine preparing fluffy and light Espumas, warm and cold sauces, carefully whipped cream, and desserts and serving them at your desired temperature! With ISI Thermo Whip, all this is possible.
The only challenge could be understanding how this magic appliance works. Don't worry; we got you covered.
This article explains how the different parts of a thermos whip operate, how to use an ISI Thermo Whip to achieve your desired cooking pleasure and helps you understand why you need this magnificent appliance in your kitchen.
Different Parts of ISI Thermos Whip

The ISI Thermo Whip has different parts that enable it to offer ultimate convenience. These parts include the sprayer head, head gasket, charger holder, cleaning brush, straight-tip stainless steel, and replaceable decorators with different tips.
Don't worry in case some of these need to be replaced. ISI Cream Whippers offers you quality spare parts. We discuss these other parts below.
1. The sprayer head
The Thermo whip head consists of the handle, the piercing mechanism, and the dispensing valve. The handle is where you press to release your contents through the decorator after whipping.
The piercing mechanism is where you tightly attach the charger holder to facilitate emptying the battery pressure into the whip. The dispensing valve allows you to screw your matching decorator to the Thermo whip’s head.
2. Head gasket
The head gasket is a round-shaped red part inserted into the whip’s head to help increase the grip and hold pressure. This part also seals the sprayer heads to ensure the whip’s contents remain safe.
Feel free to visit the ISI store for replacement at affordable prices if your head gasket is getting loose or losing its grip.
3. Charger holder
The charger holder is the other crucial part of an ISI Thermo Whip. The charger holder is a small round metal found on the head of the whip and is used to hold the whip's charger.
The charger holder allows the battery's contents to flow into the whip through the piercing mechanism, allowing the whipping process to occur. You may recycle the empty charger to save on cost.
4. Cleaning brush
The cleaning brush is another crucial part of an ISI Thermos Whip. Although the brush is not attached to the whip, it is equally important as it helps clean all the corners of this appliance, leaving it ready for your next kitchen adventure.
With its shape, the cleaning brush easily accesses the crevices of the ISI Thermo Whip, ensuring that no substance is left uncleaned from the previous whipping sessions.
5. Stainless steel bottle
This is the most significant part of a Thermo whip. It is where you pour your soup or sauce before securing it with the head for a successful whipping process. The stainless steel material makes the Thermo whip bottle attractive due to its corrosion-resistance features.
6. Replaceable decorators with different tips
Decorators come with differently-designed tips to ensure you get the desired shape, form, and size of your whipped cream or sauce. They can be straight, straight with teeth, or tulip.
You may purchase a one size fits all decorator or have these different shapes for those adventurous moments in the kitchen.
How To Use The ISI Thermo Whip
With enough knowledge of the different parts of an ISI Thermo Whip, it is easy to understand the formula of using this whip to create that memorable dessert or make that delicious sauce. Below are the steps to successfully using the ISI Thermo Whip.
1. Assemble all the parts
Since cleaning the whip requires you to disconnect all the parts for effective cleaning, ensure you assemble them before starting to attach them. Assembling them reduces the chances you will miss out on a part, which may result in appliance failure. Collecting the parts will help avoid the disappointment attached to an appliance failure experience.
2. Attach the head gasket to the sprayer head
The ISI Thermo Whip head carries all the parts except the straight stainless tip. Insert the head gasket into the sprayer head to facilitate a firm grip and ensure your contents remain safe when shaking and whipping.
3. Screw the decorator tip onto the dispensing valve
After attaching the head gasket, you may screw the decorator tip onto the dispensing valve not too tightly but patiently until it no longer turns.
Although the decorator tips come in different shapes and forms, the end on which they attach to the dispensing valve remains the same in all of them. This ensures they fit nicely onto the dispensing valve to avoid loss of pressure or the contents' spillage.
4. Ensure the volume of your content is below the ‘Max’ mark on the bottle
Ignoring the maximum volume mark on the ISI Thermo Whip may result in ineffectiveness. Too much content takes up the space designed to facilitate shaking, which may interfere with the results. For optimum whipping results, ensure your content is below the ‘Max’ mark on the stainless bottle.
5. Add your content to the stainless ISI Thermo Whip bottle
Add your soup, cold or hot sauce, or any other content you intend to whip to the bottle. This stage may require additional tools, such as a measuring cup and a funnel sieve, for optimum effectiveness.
The funnel sieve is advisable since it facilitates an easy spillage-free process. The sieve will help eliminate large particles, while a measuring cup will guide you on the convenient amount to pour down into the bottle, depending on your ISI Thermo Whip size.
6. Screw the sprayer head onto the bottle
After preparing the sprayer head separately and adding your content to the bottle, it is time to attach the two. Screw the head evenly and securely onto the bottle. It is essential to ensure the head is tightly attached to the bottle before whipping to avoid spillage.
We can all agree that we have gone a long way with this process to start cleaning up a spillage or preparing more soup to cover up for the spilt one!
7. Insert the cream charger onto the charger holder
Insert the charger onto the charger holder to allow the contents of the charger to get emptied into the whipper. Cream chargers are designed to carry nitrous oxide (N20) and release it as the whipping agent.
For this to happen, the charger needs to be in its holder, which is then attached to the piercing mechanism.
8. Screw the charger onto the piercing mechanism
After attaching the cream charger to its holder, screw the charger holder onto the piercing mechanism, which pierces the charger as you screw it to allow the gas to flow into the whipper. As you screw gently, you will notice the sound of the charger contents being emptied into the whipper.
9. Shake vigorously
Now that you have set everything shake the whipper at least six times to ensure the contents mix well. Shaking also allows the nitrous oxide gas to mix appropriately with the contents in your whipper bottle. Ensure that the head is tightly held to the bottle to avoid spillage.
10. Unscrew the charger holder
After vigorously shaking the whipper, unscrew the charger holder and remove the charger, which may be recycled later. These chargers are non-aerosol cartridges that one can refill after use.
It is advisable to detach the charger from the charger holder after using it to avoid confusion between the used or unused chargers during your next whipping session.
11. Screw the protective cap onto the piercing mechanism
Once you unscrew the charger holder, the piercing area remains open, which may cause harm. To avoid this, screw the protective cap onto the puncture pin area to protect it and yourself as you comfortably pour out your now fully whipped contents.
12. Dispense your contents
The last step is to dispense your contents and enjoy the hard work in the kitchen. Hold onto the handle and press it as you pour your contents. How long you press the handle depends on the amount you wish to dispense at a time. Relax, turn on that movie and enjoy your whipped cream, soup, or sauce.
Why Choose the ISI Thermo Whip
If you are wondering whether you should get the ISI Thermo Whip, the answer is an absolute yes. Whether you are a professional cook, cooking for fun or preparing meals to feed your family, we can all agree that the experience should be flawless and effortless. ISI Thermo Whip lets you enjoy your cooking adventure, and that alone is a reason enough to get this fantastic whipper.
Additionally, the ISI Thermo Whip is small, handy and flexible. It is also convenient for small kitchens as it does not accommodate much space. The Thermo Whip is also designed to keep your food cold or warm, depending on your preference and the type of food you are preparing. It has been built to act as a whipper and a storage appliance.
The whipper is also easy to clean as all you need to do is detach and separately clean all the parts. You may also clean the whipper using a dishwasher.
The other irresistible characteristic of an ISI Thermo Whip is its many accessories for even better inspiration in the kitchen. The sprayer head’s pin could be changed to fit one’s requirements, where one may use a straight one, straight with teeth, or the tulip one. The Thermo whip is also made with stainless steel to facilitate long life and safety.
With all these, I do not see why you should still doubt whether or not to purchase the ISI Thermo Whip. Feel free to visit the ISI Cream Whippers for more information on the price and delivery plans and get yourself this magic appliance. Life in the kitchen will be much more enjoyable with this fantastic invention.
Read;


